

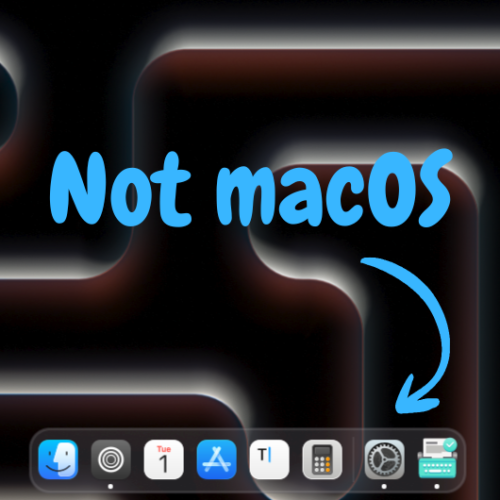
In this blog, I’ll show you how I converted my Fedora 44 Linux computer into a stunning macOS-inspired desktop device. I will walk you through every step of this process from beginning to end. Please keep in mind that this is also possible on other Linux distributions, as long as they use the GNOME desktop environment.
Preparation
To make your computer look like macOS, you must install some software. Each distribution has its own package manager, so you may need to determine which one your device is using.
These are the packages that need to be installed
- Gnome Tweaks
- Gnome Shell Extension Manager
You can install these by running the commands below or by searching for them in the software store.
Debian/Ubuntu
sudo apt install gnome-tweaks gnome-shell-extension-manager
flatpak install flathub io.github.debasish_patra_1987.linuxthemestore
Fedora/Red Hat
sudo dnf install gnome-tweaks
sudo flatpak install flathub com.mattjakeman.ExtensionManager
sudo flatpak install flathub io.github.debasish_patra_1987.linuxthemestore
After entering your password, the packages should be installed.
Installing The Themes
We can now begin adding themes after you’ve installed all the necessary packages. To accomplish this, we will need to launch the newly installed Linux Theme Store. Open it and look for the following themes.
- macOS Tahoe Cursor
- Mac Tahoe Icon Theme
- Mac Tahoe GTK Theme
Some of these themes will have different style options; simply choose the one you prefer; you can always change it later. However, these themes will be installed in the incorrect folder. To see these folders, you must enable visibility of hidden files (CTRL+h) in your file manager. They must be removed from the areas listed below.
~/.local/share/themes
~/.local/share/icons
Transfer the files to the appropriate folders:
~/.themes
~/.icons
If these files do not yet exist, simply create them.
Enabling The Themes
Now that all packages and themes have been installed, themes can be enabled. Install the following extensions first by launching the Extension Manager Application; if necessary, you can then modify them.
- Dash to Dock
- No overview at start-up (optional)
- Rounded Corners (optional)
- User Themes
- WACK – Cupertino Dock Lite
- WACK – Sonoma Lockscreen
Now we’ll need to launch the Gnome Tweaks application. Now, go to the Appearance section and change the following:
- Cursor to MacOS-Tahoe-Cusor
- Icons to MacTahoe
- Shell to MacTahoe-<chosen variant>
- Legacy Applications to MacTahoe-<chosen variant>
While still in the Gnome Tweaks application, you can change the layout of the window buttons. Simply navigate to Windows > Placement and switch to the left side.
Adding The Wallpaper
While this step is entirely optional, I believe it perfectly completes the macOS experience. Simply download and set these wallpapers as your desktop background.


Applying The Changes
Now that everything has been installed and enabled, simply log out of your device to ensure that your themes are active and functioning properly. Please keep in mind that not all themes and icons will work with all applications; however, most will work fine.